Want to learn how to replace a deadbolt lock? You can easily follow these steps:
- Remove the old deadbolt lock by removing the screws.
- Purchase a new deadbolt lock, then install it.
- Screw the set plate and the bolt into the door.
- Place the exterior and the interior facepiece into the bolt.
- Secure the deadbolt by screwing the facepieces.
You don’t need to pay a locksmith to replace a deadbolt lock cylinder since it is effortless if you carefully follow the instructions and prepare the necessary items beforehand. In this tutorial, you will learn how to change a deadbolt without any professional help.
Table of Contents
- What You Need
- Step-by-step Guide to Replace a Deadbolt Lock
- Step 1: Remove the old deadbolt lock by removing the screws and the facepieces.
- Step 2: Remove the set plate and the bolt.
- Step 3: Get the measurement of your door before you purchase a new deadbolt lock.
- Step 4: Purchase a new deadbolt lock
- Step 5: Install your new deadbolt by inserting the set plate and the bolt into your door
- Step 6: Secure the set plate into the door
- Step 7: Place the exterior and the interior facepieces at the bolt
- Step 8: Secure the facepieces
- Conclusion
What You Need
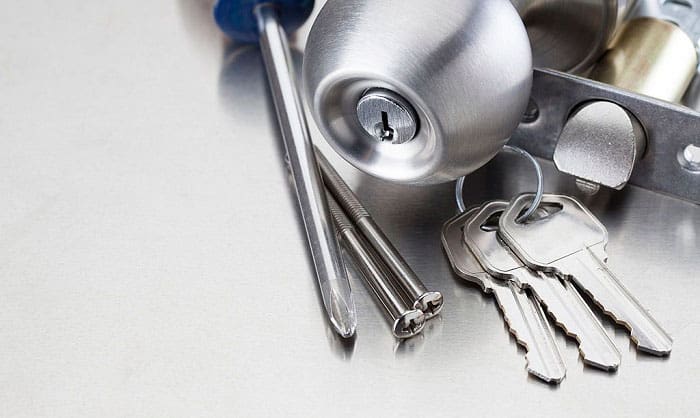
In changing a dead bolt, there are items that you need to prepare first. Without the proper tools, you would have difficulty replacing deadbolt lock. You don’t have to worry since these items are easy to find. You can purchase them at the nearest hardware store or order them online.
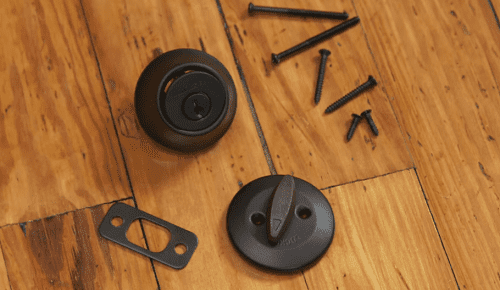
New deadbolt lock
You will need a replacement for your old deadbolt lock. In purchasing a new one, make sure that you have the right measurements since some of the deadbolt locks can only be installed on specific sizes of doors.
If you are not sure about the size of your door, you can measure it first or bring your old lock and old keys to the hardware store where you intend to buy your new lock. If you want to purchase online, always check the specifications of the lock.
Make sure that the deadbolt lock is compatible with your door since some are only compatible with wooden doors while others are for metal doors.
However, there are deadbolt locks that can be installed on any door. It is also better if the lock has additional security that could prevent picking and prying.
Also, it must be sturdy enough so that it won’t easily break in case someone wants to enter your house forcibly.
Screwdriver
The screwdriver you need will depend on the type of screws that you have. However, most of the screws from deadbolt locksets require a Philipps screwdriver. This kind of screwdriver is designed to tighten and loosen screws with cross-shaped slots. Like other screwdrivers, it is also available in different sizes.
Instead of using measurements, the sizes of Philipps screwdrivers are indicated in numbers. For 0 and 1 screw numbers, a #0 Philipps screwdriver can fit, while for 2,3, and 4, #1 is the best option. Make sure that you have the right screwdriver size since it may strip and damage the screws if it is too big.
If you can’t find any screwdriver, check this guide to learn how to remove a deadbolt lock without screws.
Tape measure
You need to measure the size of your door before you purchase your deadbolt lock. Because of this, you need the right tape measure to get accurate measurements. You can choose from different kinds of tape measures, but the best type to use is a retractable tape measure.
A retractable tape measure includes a spring mechanism that recoils the blade, making it portable and easy to carry. A hard case also protects it, and its blade can stand on its own without the need for an extension. Carpenters, builders, and surveyors use this measuring tool.
Step-by-step Guide to Replace a Deadbolt Lock
Step 1: Remove the old deadbolt lock by removing the screws and the facepieces.
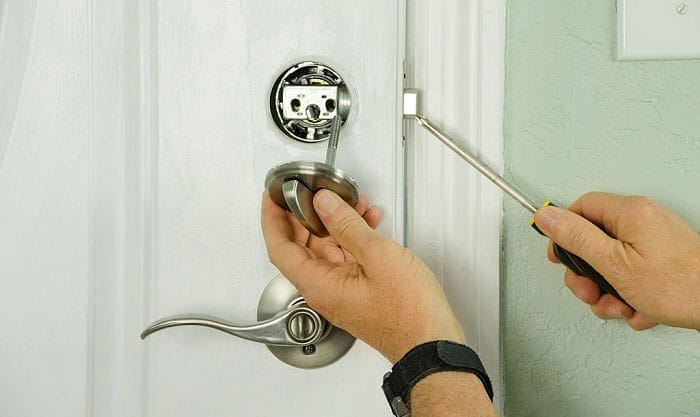
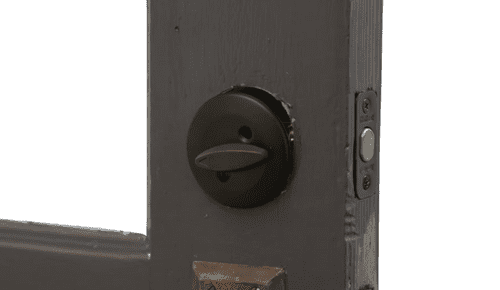
To remove a deadbolt, you will need to remove the two screws on its facepiece using a screwdriver. Then, pull out the interior facepiece. For most facepieces, we can straightly pull them, but others require twisting counterclockwise before being pulled out.
Now, pull out the exterior facepiece located outside of your door. You have to turn it counterclockwise before you can pull it out. If screws secure it, remove the screws first before pulling it out.
Step 2: Remove the set plate and the bolt.
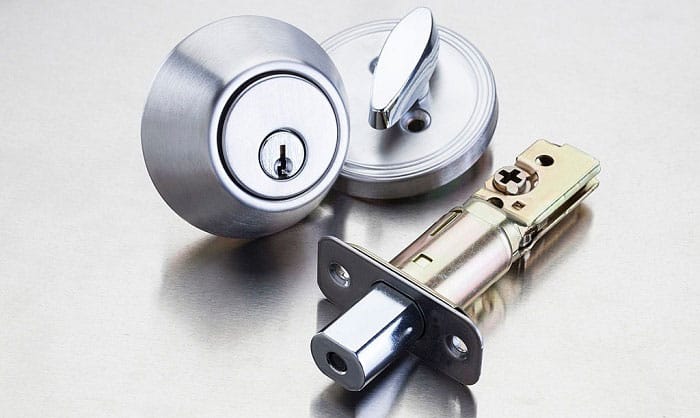
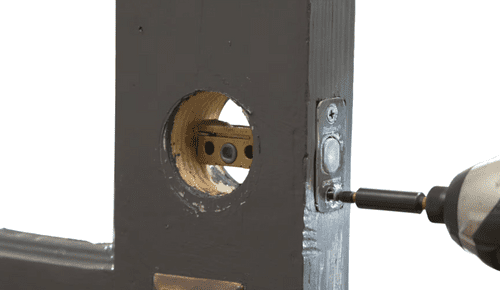
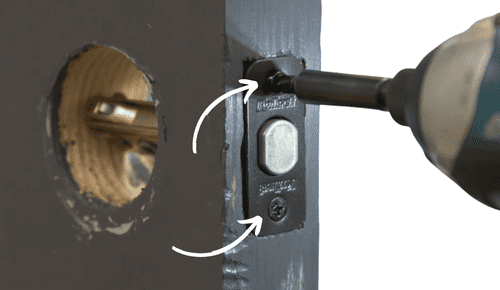
You will see two screws on the setplace located on the top and the bottom. Unscrew them. If the set plate is separate from the bolt, you can pull it out first before removing the bolt. But if not, just pull out the set plate and the bolt together.
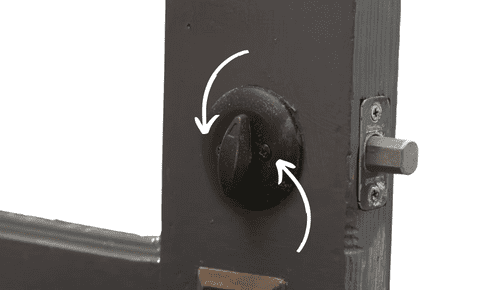
If you failed to unlock the door before starting the removal, take out the bolt by finding where it connects to the locking mechanism and twisting it open using a screwdriver.
Step 3: Get the measurement of your door before you purchase a new deadbolt lock.
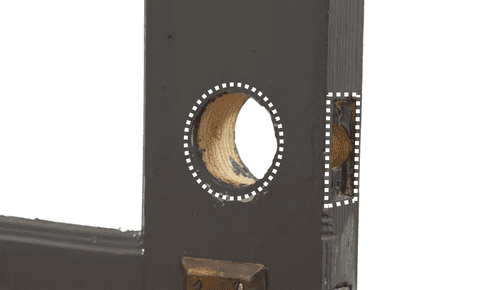
Before you purchase a new deadbolt lock, you need to measure first the size of the lock to prevent any problems during the installation. Get the size of the hole where your lock used to be placed.
After that, measure the distance of the hole from the frame of the door. Lastly, measure the door’s thickness.
If you have a new home, you can follow the standard where the hole’s measurement is 2 ⅛ inches. Also, most of the bolts can be adjusted, but it would be better if you had the exact measurements.
Step 4: Purchase a new deadbolt lock
Aside from ensuring the correct measurements of the deadbolt lock, it should also be sturdy enough to have a longer service life. It should also have a metal strike, and its bolt must fit on your door frame. The screws must also be three inches long so that they can secure your deadbolt.
Step 5: Install your new deadbolt by inserting the set plate and the bolt into your door
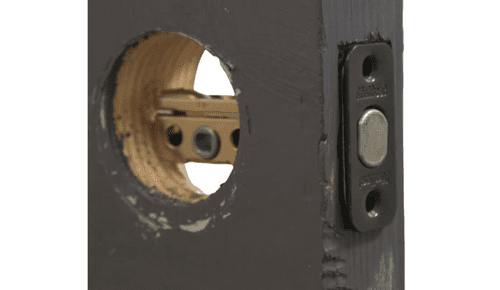
Insert the set plate and the bolt in the hole located at the side of your door. They must face your door frame. In case the set plate and the bolt are separate, you can start sliding the bolt first. After that, you can insert the set plate so that it can secure the bolt inside.
Step 6: Secure the set plate into the door
Next, secure the set plate into the door by inserting the screws on the top and bottom hole. Use your hands to secure the screws in place, then use your screwdriver to drive them into the hole, ensuring that they hold tightly and securely.
Step 7: Place the exterior and the interior facepieces at the bolt
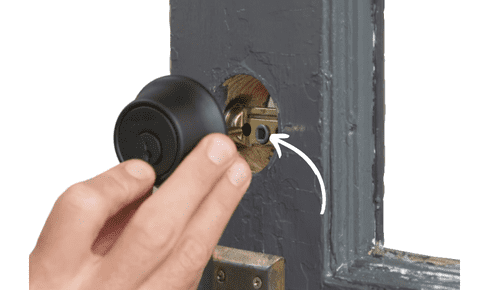
A bolt has a total of three holes for your exterior and interior facepieces. Your exterior bolt includes a long metal that you need to insert into the hole in the bolt.
Once you are done inserting the exterior facepiece in the bolt, proceed with the interior facepiece. It has two pieces of metal that you need to insert into the bolt.
Step 8: Secure the facepieces
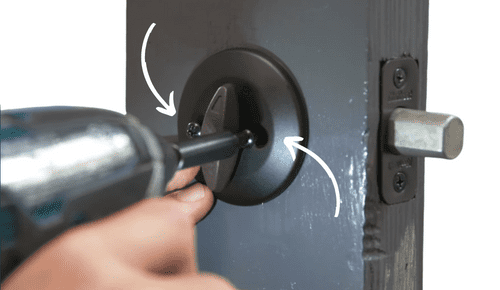
Secure the facepieces by putting the screws. Usually, an interior facepiece needs two screws. For the exterior facepiece, check if it needs screws since some models don’t need one. Place the screws properly with your hands and secure them using a screwdriver. As much as possible, use the screws included in the lockset.
Conclusion
Are you satisfied with our tutorial on how to replace a deadbolt lock? Through this tutorial, you can now change your old deadbolt lock with a new one. You won’t have to pay for a locksmith to help you with the installation since the procedures are easy to follow.
If you find this article helpful, you can share this post with your friends and loved ones. You can also share with us your thoughts via our contact page. We will be glad to hear from you.

I am the last member to join Revolar and might be just the luckiest to work with dedicated people like Teddy and John. Our team has established a process where my only job is writing the best content to deliver incredible ideas and guides.


