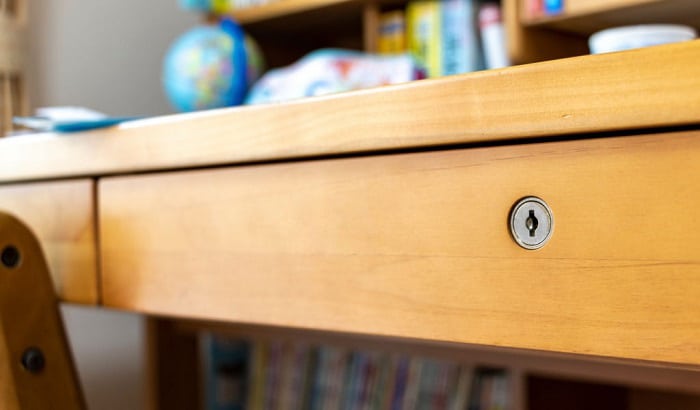
Want to know how to install a drawer lock? First, empty the drawer then locate its center point. Drill a hole that will fit the lock’s shaft. Remove the lock bolt and the O-ring then insert the lock on the hole located in front. Place the key slot vertically. Replace the lock bolt.
This tutorial will guide you so you can install a lock on a drawer and keep it secured. You just need to follow the steps carefully and prepare the items needed. You don’t have to pay anyone to put a lock on a drawer.
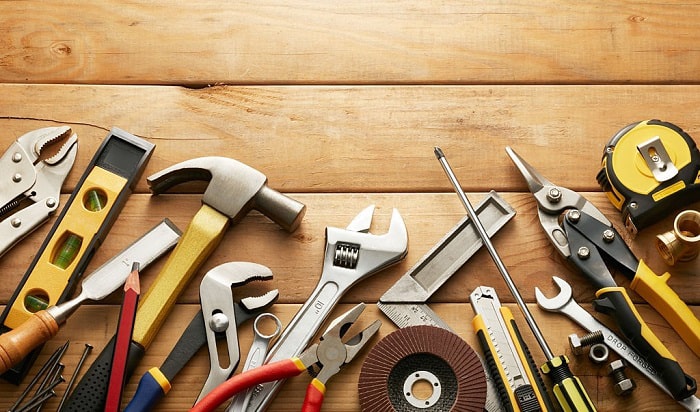
There are specific items you need to prepare so you can follow the tutorial. Some of them are power tools that may be present in your toolbox. If you don’t have them, you can purchase them online or you can visit a local store.
1. Cylinder lock
The cylinder lock is suitable as a dresser drawer lock or a wooden drawer lock. One of the benefits of using a cylinder lock is that it is easy to re-key. As much as possible, purchase a cylinder lock that already comes as a lockset so you won’t have to look for screws that will secure it.
Plus, make sure that the cylinder lock is made of durable materials such as nickel, brass, platinum, and stainless steel so it could last for a long time. The size of the lock must also fit the size of your drawer.
2. Ruler and marker
You will need a ruler to determine the center point of your drawer. You can use any ruler that is available in your home. But I suggest that you use a metal ruler so it won’t break easily since it is more durable than those that are made of wood and plastic.
If you don’t have a ruler, you can also use a measuring tape as an alternative. There are various types of measuring tapes such as the pocket type, keyring, magnetic tape, and ergonomic. Avoid using a fabric measuring tape since it is impractical to use for woodworks.
To mark the center point, you will also need a marker. You can use a pen; however, make sure that it has very visible ink. If you don’t have a pen, you can also use tape. Just cut a little piece to mark the point.
3. Keyhole saw
A keyhole saw is a tool with a pointed blade and a plastic or wooden handle. It is commonly used for creating holes in softer kinds of woods. It is usually composed of a single handle, but different types of blades can fit into it. The blades’ sizes, lengths, and numbers of teeth vary.
If you don’t have a keyhole saw, you can also use an expanding drill bit. The benefit of using this tool is you don’t have to settle for a fixed diameter. You have the freedom to determine how wide and how deep the hole is, making it easier to make necessary adjustments.
4. Sandpaper
You need to have the right kind of sandpaper to prevent misshaping your drawer. The size of the grains in the sandpaper depends on its grit. If the grit is low, the grains are larger. On the other hand, sandpaper with high grit is useful for carrying out finer and lighter sanding work.
For this tutorial, you will need fine sandpaper No. 150. This is used for applying the final finish and preparing the woodwork for varnishing. It also smoothens the rough edges of fiberboards.
5. Screwdriver
You will need a screwdriver to secure the lock with screws. To know the kind of screwdriver you need, check the screw head. If it is cross-shaped, you will need a Philipps screwdriver. However, if it is slotted, you have to use a flathead screwdriver.
The size of the screwdriver will also depend on the size of the screw. For the Philipps screwdriver, a #0 Philipps screwdriver can into 0 and 1 screwheads while a #1 head can fit into screws number 2, 3, and 4. Meanwhile, the sizes of flathead screwdrivers are in inches. These include 3/32 by 1 1/2, 3/16 by 1 1/2, 1/8 by 4, 3/16 by 4, and 1/4 by 4.
When the screwdriver is too small for the screw, it cannot secure the lock. If it is too big, it may strip the screw, damaging it. Aside from its size, look for a screwdriver that is comfortable so you won’t have a difficult time securing the lock.
6. Safety Goggles
To prevent debris or sawdust from going into your eyes while you are drilling, it is important that you wear a pair of safety goggles. These flying objects can cause infection to your eyes, or worse, can lead to a temporary loss of vision. There are different types of goggles to choose from such as welding goggles and power tools goggles.
In choosing a pair of safety glasses, make sure that it has good ventilation so you can breathe easy as you follow the tutorial. Also, the goggles should fit your head perfectly. It would be distracting if they are too loose or uncomfortable if they’re too tight.
What to Do
Step 1: Empty the drawer and remove the drawer from the dresser or cabinet, if possible
Before you install the lock, you need to empty your drawer first. This will prevent you from damaging the items inside the drawer. You can put them in one place and return them back once you have installed the lock. You must also remove the drawer from the dresser or cabinet so you can work on it easily.
Step 2: Locate the center point of the drawer
Using a ruler or a measuring tape, locate the center point of the drawer. Once you have determined it, mark it with a marker or tape. Also, check if the lock bolt can reach the top of the drawer and catch the upper edge. The lock will fail to catch if it is installed much too far inside the drawer.
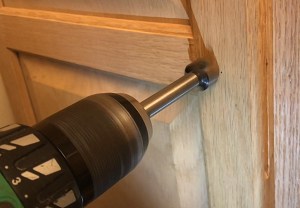
Step 3: Drill a hole that will fit the lock shaft
You need to make a hole that can fit the circumference of the lock shaft. Use a keyhole saw or an expanding drill bit to create the hole that is needed for the installation. Once you are done, smoothen the edges of the interior using fine grain sandpaper. After that, proceed to the next step.
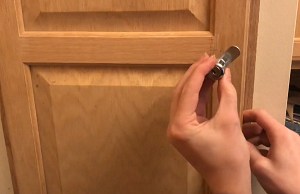
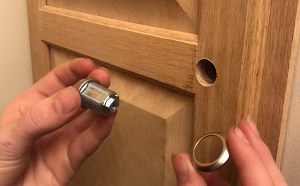
Step 4: Remove the lock bolt and the O-ring then install the lock in the drawer
Remove the lock bolt and the O-ring at the back of the lock shaft. Once done, place the lock in the hole by inserting it from the front. Check if the keyhole is vertically placed.
Put the O-ring into its original position then push it against the drawer’s backside. Secure the lock by screwing the screws through the O-ring’s holes. Then, replace the lock bolt.
Conclusion
Are you satisfied with our tutorial on how to install a drawer lock? By following the steps carefully, you can install a cabinet lock to add security to your drawer. This will keep your belongings safe from burglars and intruders. In addition, in case of an emergency and you lose your keys, please check out this tutotial how to open a file cabinet with a broken lock easily without much damage.
If you think that this article is useful, feel free to share it with your friends and loved ones who want to improve the security of their drawers. You can also suggest the desk drawer locks to use. Just leave a comment below.
I am the last member to join Revolar and might be just the luckiest to work with dedicated people like Teddy and John. Our team has established a process where my only job is writing the best content to deliver incredible ideas and guides.