Want to know how to install a lock on a bedroom door? Whether you are living alone or with your family, it is important to have privacy. Installing a lock on a bedroom door is the solution!
It is easy to install lock for bedroom door if you only have to replace an old one. However, if it is your first time to put a lock on a bedroom door, you need some patience. Don’t worry because we are here to guide you.
Table of Contents
What You Need
Bedroom lock – For this tutorial, you will need a thumb-turn lock. We should purchase a set where the screws, the latch plate, and the strike plate are already included. Drilling the holes will also be easier if the package consists of the template, saving you much time.
If you don’t like a thumb-turn lock, there are other locks that you can choose for your bedroom. Some of these are releases and surface bolts. Just make sure that they are constructed with tough materials to provide you with long service life.
Wood chisel and mallet – For the wood chisel, it is recommended that you use 12 mm or 25 mm. The 12 mm is ideal for fine woodwork. If you want to have a comfortable grip, look for a wood chisel with a contoured handle.
To drive the chisel, you will also need a wood mallet. Never use a metal mallet since it may break the chisel’s handle and can cause you serious injury. The mallet must also be bigger than the head of the chisel.
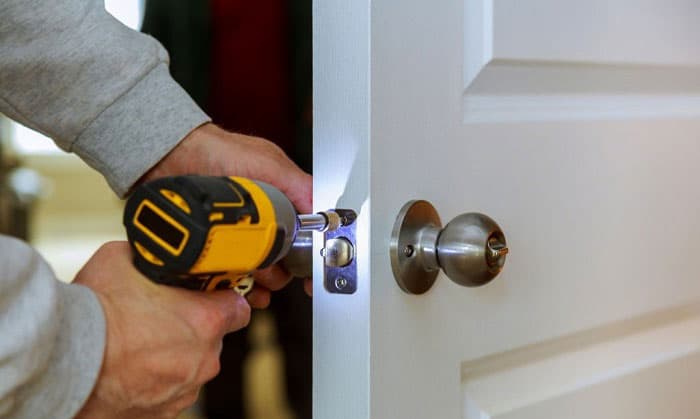
Power drill and drill bits – A cordless power drill can provide you with more movement compared to the corded one. However, prepare some batteries to prevent any hassle while you are in the middle of the tutorial. If your only option is a corded drill, just make sure that you have an extension wire.
For the drill bits, you will need a 2 ⅛-inch hole saw drill bit in drilling the face bore. Also, prepare a ⅞-inch spade bit for the edge bore. For other holes, you will need a 3/32-inch drill bit.
Tape measure and pencil – You can use a 25-footer tape measure for the tutorial. It would be enough to get the necessary measurements to install the lock. If you don’t have a tape measure, you can also use a wooden or metal ruler as an alternative.
Aside from that, you also need to have a pencil to mark some areas. A marker or a highlighter is also ideal as an alternative. Just make sure that won’t be easily erased.
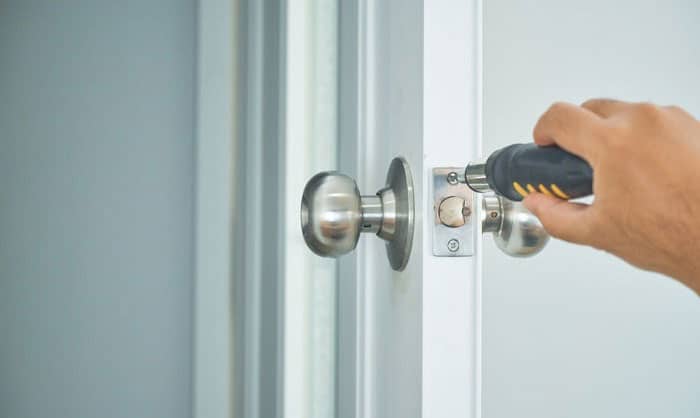
Screwdriver – If you purchase a lockset, the screws are already included in the package.
If it doesn’t have one, check on the manual on what kind of screws are necessary. The screwdriver typically used for lock installation is a Philipps screwdriver. However, it must fit the size of the screwdriver.
What to Do
Step 1: Determine the location of the face bore
The face bore serves as the housing of the lock mechanism. To locate its position, measure 36 to 38 inches from the floor to the location of the doorknob.
Once done, measure 2 ⅜ inches from the edge of the door to the center of the door. The point where the height and the backset intersect is the face bore.
If the lockset includes a template, you only need to place it on the edge of the door. It will guide you on where you will drill the holes. Punch a nail through the template, then remove it when done.
Step 2: Drill the face bore and the edge bore
Drill a pilot hole using a power drill, and a hole saw. Check if all of the saw teeth touch the surface. If yes, continuously drill through the door. Finish boring the hole by drilling on the opposite side of the door to prevent the wood from splitting.
You also need to drill a hole on the edge of the door, called an edge bore. Use a ⅞ spade bit while drilling at a medium speed. Stop once you have seen the tip of the spade breakthrough in the face bore.
Step 3: Make space for the latch-plate
Get your latch plate and outline out of it using a chisel. After that, remove the latch plate and chisel out the outline. Make sure that the mortised space is deep enough to fit the latch plate but not too deep that it is difficult to lock the door. It should be as thick as your latch plate.
Step 4: Create holes for the handle and the thumb turn
Hold the lock against the door and put it in the right position. Next, mark the areas where you need to drill some holes.
Note that the holes you will create are for the screws, so it is better that you also put some marks on the opposite side of the door.
Now, drill through the marks using a wood drill bit.
Step 5: Install the lock mechanism in place
Check first if the spindle holes are aligned. If not, you can make some adjustments. Place the lock mechanism in the opening. Cover it with a latch plate, then tighten the screws.
For the handle spindle, insert it into the hole and slide the handle on the other side. Secure it with screws.
Do the same procedure for the thumb turn spindle.
Step 6: Create a strike plate in the door jamb
Outline the strike plate in the door jamb, then chisel it out.
To easily determine where the bolt strikes, you can do the lipstick test. Just apply red lipstick on the bolt, then close the door. It will mark the area where it strikes the door jamb.
The hole for the bolt must be 1 to 2 mm deep. Place the plate, then secure it with screws.
Frequently Asked Questions
Can I cut the thumb turn spindle so it won’t appear on the opposite side of the door?
Yes, you can cut the thumb turn spindle if you don’t want it to be visible on the other side of the door. However, you can install a screw device on it so you can open the lock from the other side. This is useful to prevent children from being trapped inside the bedroom.
Can I install a bedroom door lock without drilling?
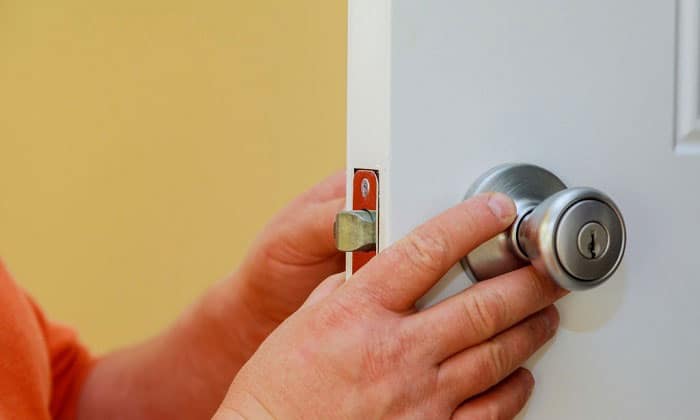
Yes. You can install a padlock on a bedroom door, or you can use a keyed-entry doorknob. Installing a keyed-entry door knob will only require a screwdriver. There are also portable locks that are available that won’t require drilling.
Read more:
Conclusion
Have you applied our tutorial on how to install a lock on a bedroom door? Through this tutorial, you can enjoy your privacy while you are inside your bedroom.
If you know some friends who want privacy in their bedroom but don’t know how to, you can share this post. Surely, it would mean a lot to them! We also love to see how this tutorial helps you personally. Just leave a comment below.

I am the last member to join Revolar and might be just the luckiest to work with dedicated people like Teddy and John. Our team has established a process where my only job is writing the best content to deliver incredible ideas and guides.


