
Nowadays, the residential security trend has definitely shifted to using smart locks. Among a wide range of smart locks currently available on the market, we highly recommend SimpliSafe products. So how to install SimpliSafe Smart Lock?
A SimpliSafe smart lock installation involves basic household tools that are not difficult to handle. We bet that you would be surprised by the simplicity of this tutorial, as even inexperienced users can handle it with ease.
If you are planning for a major house interior upgrade, it is a brilliant idea to start with a smart lock from SimpliSafe. Don’t miss out on this article!
Table of Contents
- What You Need To Follow This Tutorial
- Step By Step Instructions
- 1. Have the deadbolt ready
- 2. Get rid of the existing thumbturn
- 3. Remove the mounting plate
- 4. Install the mounting plate
- 5. Pick the adapter that goes with the thumbturn connector
- 6. Prepare your thumbturn
- 7. Install your smart lock
- 8. Secure this lock
- 9. Examine its locking/unlocking function
- 10. Install its PIN pad
- 11. Activate this lock with your system keypad
- What Is a SimpliSafe Lock?
- Summary
What You Need To Follow This Tutorial
Prepare the following tools:
- SimpliSafe smart door lock.
- SimpliSafe base station turned on inside the house.
- Single-cylinder deadbolts.
- Phillips head screwdriver.
Step By Step Instructions

In this part, we will describe the complete SimpliSafe deadbolt installation in detail for you to follow step by step.
Remember this: Only single cylinder deadbolts are suitable for your SimpliSafe smart lock. This type of deadbolt contains a thumbturn on the inside and a keyhole on the outside of your door.
1. Have the deadbolt ready
You will find an adhesive strip included in the lock package. Tape it over your deadbolt on the outside of your door for security. Do not remove the exterior part of this deadbolt.
2. Get rid of the existing thumbturn
Turn to the door interior to unscrew the thumb turn of your deadbolt with a Phillips head screwdriver. Hold onto the removed screws for later use.
3. Remove the mounting plate
The mounting plate is already installed on your SimpliSafe smart lock, so you need to remove it for the installation process. On the back of the lock, slide out its wing latches. After that, the mounting plate will fall out easily.
4. Install the mounting plate
Take note of which of the mounting plate’s faces will be against your door. Center this piece on your thumbturn connector. Make use of the screws you removed earlier for the mounting plate installation. Check again for security.
Avoid over-tightening the screws and use washers if necessary.
5. Pick the adapter that goes with the thumbturn connector
Many different types of SimpliSafe adapters are available, so you have to identify the existing tailpiece shape on your door and choose a compatible adapter for connection. Slide this adapter over the tailpiece through your mounting plate.
6. Prepare your thumbturn
Make sure your thumbturn is in the unlocked position to keep the door open. Give a quick check to see if the wing latches of your lock are extended.
7. Install your smart lock
In this important step, slide the smart lock over your adapter. Turn the thumbturn in a slow manner until the whole unit slides against the mounting plate.
8. Secure this lock
By sliding the wing latches towards your mounting plate, you will be able to secure the new SimpliSafe smart lock on the door.
If you spot a gap or are unable to attach the lock, check your mounting plate again and reposition it and the lock as needed.
9. Examine its locking/unlocking function
Next, it is time to test the lock operation after installation. Turn its thumbturn manually to see if you can lock and unlock it without hassle.
In case any trouble arrives, remove the lock and make sure the adapter works with the deadbolt. Then, put the lock back and make sure it’s set up correctly.
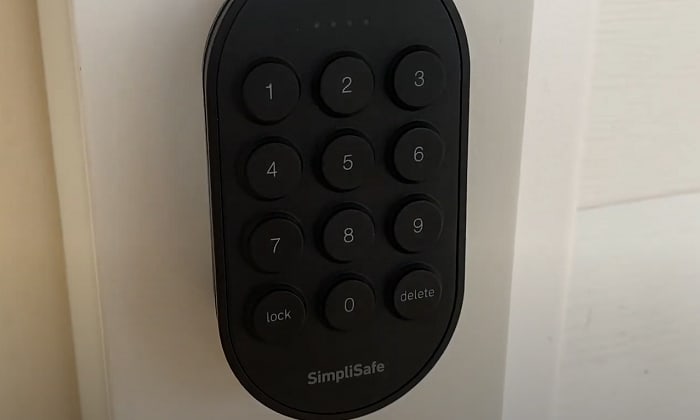
10. Install its PIN pad
In terms of the smart lock’s PIN pad, apply double-sided tape to mount it on the outside of your door or slightly off to the side. Leaving a small space under this pad is important, so you can access the batteries inside.
Note that the provided screws are helpful for a more permanent installation.
11. Activate this lock with your system keypad
Select Menu on the keypad to adjust your lock’s settings. On the Menu list, if you cannot find Lock under “Add Device,” you can check for keypad updates in System Settings.
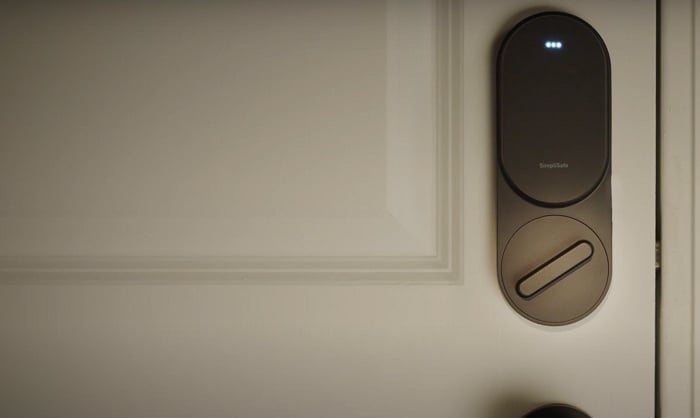
What Is a SimpliSafe Lock?
Here is some quick information about the new smart lock from SimpliSafe. Many users are impressed with its slim design that is both modern and elegant, and how they can choose between different color versions, each including its own thumbturn.
It is more than ideal if you are currently using SimpliSafe products, since the smart lock only works when paired with the SimpliSafe system. This will reduce much hassle from the installing SimpliSafe smart lock process.
This lock requires 4 AA batteries to work. Without a doubt, it features an incredibly simple installation for smart locks, easier than most items of the same kind.
Check out this video for more information on SimpliSafe lock install: How to install a SimpliSafe smart lock.
Summary
It is not complicated at all to learn how to install SimpliSafe Smart Lock, especially with the help of our detailed instructions. We hope the provided information here can assist you in installing your new lock for a satisfying house renovation.
What is your personal opinion on this article about installing SimpliSafe smart locks at home? Let us know right away in the comment section. Furthermore, we bet you would love to spread the word about this process to friends and family as well!
Thank you for reading.

I am the last member to join Revolar and might be just the luckiest to work with dedicated people like Teddy and John. Our team has established a process where my only job is writing the best content to deliver incredible ideas and guides.