
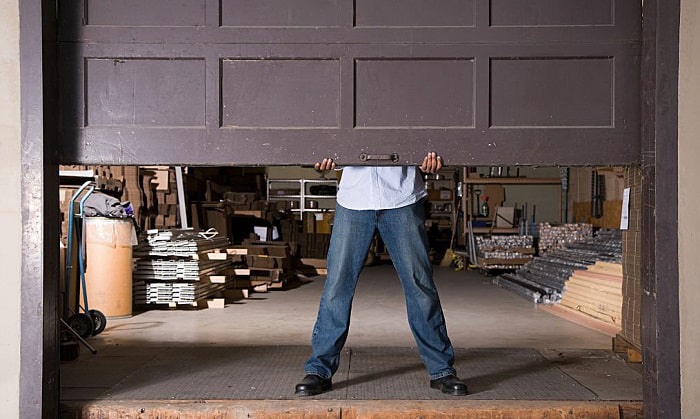
It’s always the worst when you’re at work or in bed, and you wonder if your garage door is locked. I know, trust me. It also does not feel safe, especially with only a single lock mechanism in your garage door. Thus, having an extra manner of security makes life simpler, not to mention safer. I find locking your garage door from the inside is the best.
How to lock garage door from inside, you might ask? Try putting a cable tie on the emergency release lever, using a padlock on the vertical track, or adding a new side lock.
Table of Contents
3 Ways to Lock a Garage Door Manually From Inside
Since there is more than one way to manually lock garage door from inside, I suggest you pick one (or more) which will make you feel more secure.
Option 1: Using a Cable Tie
The cheapest and the fastest of the three is putting a cable wire in the emergency release lever because all you need are two things.
- Cable Tie (preferably 8 inches)
- Scissors
The emergency release lever is used to open the garage door when the power is cut off. Anyone outside your door can easily pull it down using a fishing stick. The key to this method is to prevent such occurrences by using the cable tie as a lock for garage door by looping it to the lever.
Step 1. Unplug your garage opener.
The garage door accidentally opening might hurt your hands. Therefore, you have to unplug the garage opener from the power outlet. This task is done for safety precautions and efficiency.
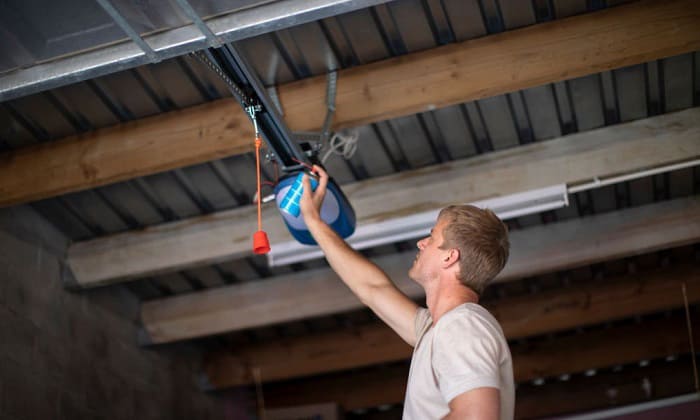
Step 2. Find the emergency release lever.
This step depends on what type of garage door you have. The emergency release lever is often on the top portion of your garage door or at the end of the motor rail near the door. It can be in the center or on the sides of the garage door. It should be attached to a release rope.
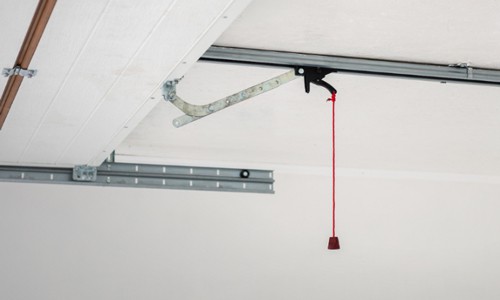
Step 3. Insert the cable tie through the hole where the release rope is coiled.
The hole where the rope is coiled can be found on a latch called the trolley release arm. The release arm is the most crucial part of the emergency release lever because it engages and disengages the garage door.
The reason why we do this is that we are disabling this latch from shifting.
Step 4. Loop the cable tie again on the hole at the bottom of the trolley carriage.
The trolley carriage is where the emergency lever is connected. It is the primary mechanism that pulls the garage door open. The trolley carriage has a hole where the spring is attached to the latch. Looping the cable tie through this hole secures the emergency release lever from engaging.
Step 5. Lock the cable tie.
Make sure to lock the cable tie tightly. Please avoid reusing cable ties, too, as they could be less sturdy.
Using the scissors, cut down the excess of the cable tie to a half-inch or a length that will not affect the security of the cable tie.
Option 2: Using a Padlock
You might prefer adding a padlock to the vertical track instead if you already have a spare padlock at home.
- Padlock with Standard Shackle 50mm
- Impact drill (Only if your garage don’t have a hole on either side)
The garage door passes through the vertical tracks to open and close. By using a padlock, we prevent the function of this mechanism.
Almost every garage door has holes on the bottom of its vertical track, so this method is straightforward and easy. You can use this technique temporarily and upgrade it later.
Step 1. Look for a hole in the vertical track
There should be holes on the vertical track to put your padlock. The best spot to put the padlock is at the bottom of the track because it is just above the first garage door roller.
If there are no holes, this is where the impact drill comes in handy, for you will have to punch a hole yourself.
Step 2. Fasten the padlock through the hole
By locking the padlock through the hole, the roller next to it will not move, disabling the rest of the rollers.
It is vital to check if the padlock is there every time you open the garage door to prevent any damage to your garage door.
Option 3: Installing a Side Lock
Although the most financially and time-consuming, adding a side lock or replacing your old lock is the most secure method of locking garage doors among the three. You shall need:
- Universal Garage Door Side Lock Latch
- Hex Screwdriver
- 4 Self-drilling Hex Bolts (might come with the latch)
- Impact drill
- Pencil (optional)
- Padlock (Optional)
There is nothing better than a manual garage door lock from inside as installing a sidelock that slides open or close.
I recommend this method if you’ve got the time and resources because, unlike the padlock, the side lock stays in place, and you can just slide it close or open anytime. The side lock is attached to the garage door inside and latches to a hole in the vertical track.
Step 1. Locate the rectangular hole in the vertical track
Vertical tracks usually have a rectangular hole ready for a side lock. If not, at least a template should be provided in the vertical track to be removed. Take note that this hole should be located on the second section on either side of the garage door, counting from the bottom.
Use the impact drill to remove the template for the rectangular hole. If there is no hole or template in that section, use the drill to make a rectangular hole based on the side lock’s size.
Step 2. Make sure there are drilled holes in the garage door where you can drive the screws
Press the side lock on the inside of the garage door. Make sure that your side lock latch is aligned to the rectangular hole.
Then, check if there are pilot holes on the garage door where you can drive the screws in. Many garage doors have holes ready. If there are none, use the impact drill to drill holes, two above and two below.
You can use a pencil to mark the drill spots before drilling, or you can drill right away if you are skilled enough.
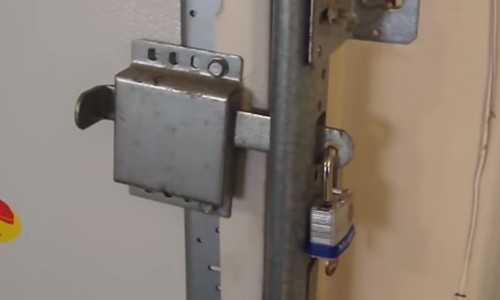
Step 3. Install the side lock on the wall
Align the side lock with the drilled holes. Drive the self-drilling hex screws into the holes using the screwdriver to install the side lock on the inside of the garage door. Make sure to drive them in carefully.
Once installed, you can now use the side lock to secure garage door from inside. Side locks provide you the option of adding a padlock for extra security through a hole on the end of the latch.
Furthermore, similar tips for your reference are locking a garage door from the outside and locking a Liftmaster garage door opener. Hope you find something useful.
Conclusion
I hope you found this tutorial easy and fun! Using a cable tie, padlock, or installing a side lock are three ways to secure the garage door from inside. It’s essential to consider the level of security you feel comfortable and satisfied in before choosing your manual garage door lock. We should all prioritize safety, so I value sharing this guide.
Among the three ways of how to lock garage door from inside, which do you prefer? Don’t forget to share your thoughts in the comments and share this tutorial if you like it.

I am the last member to join Revolar and might be just the luckiest to work with dedicated people like Teddy and John. Our team has established a process where my only job is writing the best content to deliver incredible ideas and guides.